
This article will explain to you how to upload a website on cPanel of Hosting provider. uploading a website on cPanel means upload all of the website files including HTML, CSS, JavaScript, PHP and other files on the hosting provider file manager. it will save all the files and allow access to these files through a domain address.
There are mainly Two Methods for uploading a website on cPanel of hosting :
1. Uploading Through File Manager of cPanel
2. Uploading Through FTP(File Transfer Protocol) client
Step 1. Login to cPanel
login cPanel with username and password
Step 2. Select File Manager
Step 3. Open public_html
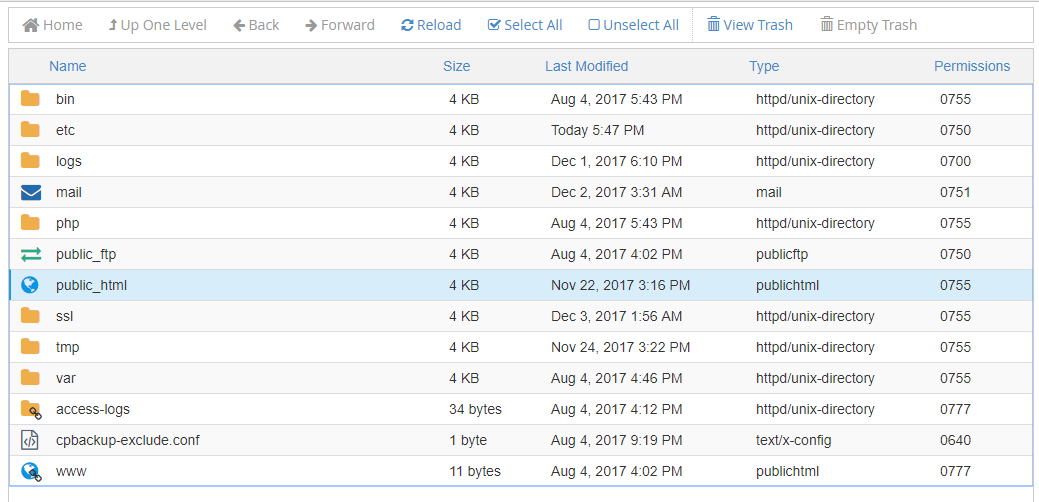
this directory is blank here no file or folder exits until you don’t upload something here.
Step 4. Click On Upload And Choose Zip
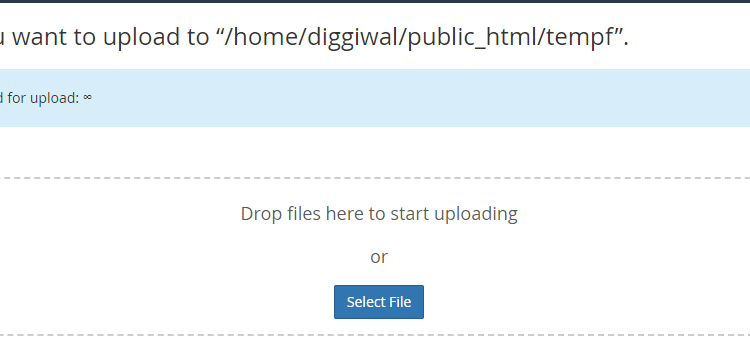
Step 5. Extract Zip
#2. Uploading by FTP Client
To transfer files via FTP(File Transfer Protocol), you need to establish an FTP connection. For making a FTP connection an FTP client is required. FTP client make connection between file manager of hosting and local computer using FTP connection.
File transfers are made by simply dragging and dropping files from one pane to the other. Additional features of the FTP Client include: multiple file transfers at a time, auto resuming of the transfer, file queuing and more.
Free FTP Client Software
- Filezilla
- CyberDuck
- Transmit
Here we are using FileZilla FTP client for uploading website. it is free and easy to use for transfer files on web server by simply drag and drop of file and folder.for uploading website follow some of steps :
Step 1. Download Filezilla And Activate It
Download the filezilla software from the official website of filezilla and then open it on your computer.
Create FTP Account
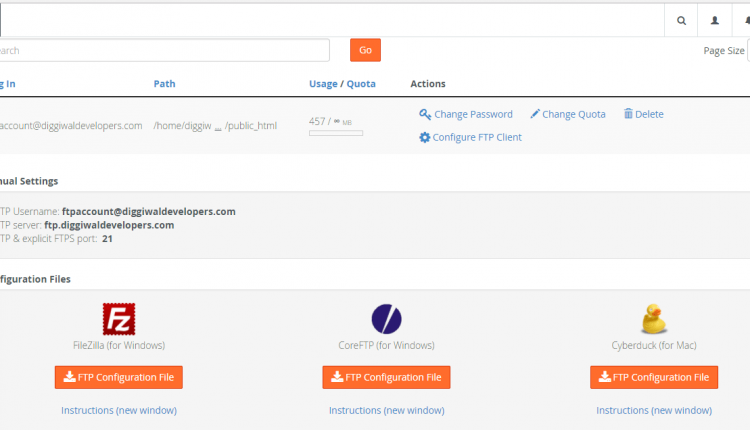 In my case here details of the FTP account is below. that will using for connect filezilla to web server.
FTP username : [email protected]
FTP server : ftp.diggiwaldevelopers.com
FTP port :21
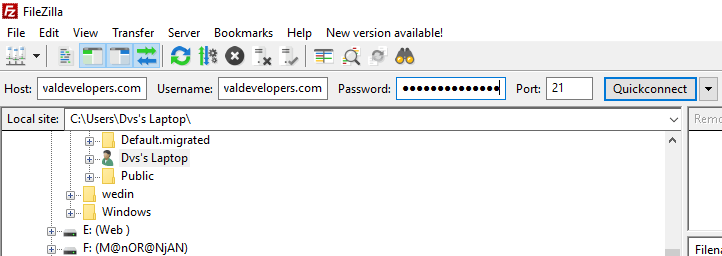
Step 2. Quick Connect
Enter your domain name in the Host field or you can use the account’s IP address. The username and the password you need to type in are the same as the ones you use to log in to your cPanel. The FTP port is 21. Then, to connect, press the Quickconnect button.
Step 3. Click File Select Site Manager
At the right top corner of filezilla software click on File and then select Site Manager. click on new site.
- Enter new site name ( Diggiwal Developers )
- Enter Host name ( ftp.diggiwaldevelopers.com )
- Port (default : 21)
- User ( [email protected] )
- Password ( ******************* )

You will be connected to your hosting account and on the right side of the FTP client window you will see a list of all the files and folders on your account.
Step 4. Upload Files
From the right panel of the FTP client navigate to the folder on your account in which you want to upload the new files, for example – public_html.
Then, select one or more files from the left side panel (your computer) to be uploaded and right click on them. From the menu that shows up, click the Upload button.
The transfer will automatically be initiated, which will be indicated at the bottom panel of the application.
Wait for the upload to complete, after which the uploading of these files will be logged in the Successful Transfers tab at the bottom panel.
WELL DONE!
Here’s you Should Read Next
Comments are closed.